Have you ever wondered how cool designs end up on T-shirts or posters? Well, that’s the magic of screen printing! Screen printing is a process where ink, screens, and your imagination collide to create fantastic prints. In this article, we’ll dive into screen printing, demystifying the process, the materials you can screen print on, and how screen printing stands out from printing methods. Screen printing is a world where creativity and science join forces to make everyday things look awesome!
What is Screen Printing?
Screen printing involves a stencil-based printing technique using a mesh screen, ink, and a material to be printed on. Here’s a simplified explanation of how it works:
Preparation of Screen: A mesh screen, typically made of polyester or other fine materials, is stretched tightly over a frame, traditionally made of wood or metal. The screen is then coated with a light-sensitive emulsion.
Creating the Stencil: A design is either hand-drawn or digitally created and then printed onto a transparent film. This film is placed on the coated screen, and the screen is exposed to light. The areas of the emulsion covered by the design on the film harden while the rest washes away when rinsed, creating a stencil (or “screen”) of the design.
Setting up the Printing Press: The material, like fabric, paper, plastic, or metal, is placed securely on the printing press. The screen with the stencil is aligned precisely on top of the material.
Applying Ink: Ink is placed onto the screen, usually at one end. A squeegee is then used to spread the ink across the stencil, forcing it through the open mesh onto the material below. The hardened parts of the stencil block the ink from transferring, leaving the design on the material.
Drying and Curing: Once the ink is applied, the material is removed and passed through a dryer or heated process to cure the ink. This ensures the ink adheres properly and dries, becoming a permanent part of the material.
Repeating for Multiple Colors: For multi-colored designs, each color requires a separate stencil and application. The process is repeated, carefully aligning each color layer to create the final image.
The History of Screen Printing:
Screen printing began in ancient China around 960-1279 AD. People used stencils made of silk or hair on wooden frames to put designs on fabric. Japan later improved this method during the Edo period (1603-1868). Japanese screen printers used screens with silk mesh to create intricate designs.
By the early 1900s in the United States, screen printing took a big step forward. Printers started using chemicals that react to light to make better stencils. During World War I, screen printing became the standard for making flags and banners. By the 1930s, artists and printers used screen printing for posters and advertisements. Screen printing became more popular in the art world in the 1960s and 1970s thanks to artists like Andy Warhol.
Nowadays, screen printing has advanced a lot. It’s used for making clothes, posters, signs, and even circuit boards. Modern machines and advanced inks can make detailed prints on many different materials.
Here Is A Step-By-Step Breakdown Of The Screen Printing Process:
Design Creation: The process starts with creating the design that needs to be printed. This design is either hand-drawn or digitally created on a computer.
Screen Preparation: A mesh screen, often made of polyester or other fine materials, is tightly stretched over a frame. The screen is then coated with a light-sensitive emulsion, which will create the stencil for the design.
Exposing the Screen: The design, typically printed on a transparent film, is placed over the coated screen. The screen is exposed to light, causing the areas of the emulsion not covered by the design to harden while the rest can be washed away, leaving a stencil on the screen corresponding to the design.
Setting Up the Printing Press: The material to be printed on (substrate) is placed securely on the printing press, while the prepared screen with the stencil is aligned precisely on top of it.
Ink Application: Ink is placed on one end of the screen, and a squeegee is used to spread the ink evenly across the stencil. The squeegee pushes the ink through the open areas of the stencil onto the substrate below, transferring the design onto the material.
Drying and Curing: Once the ink is applied, the substrate is removed from the printing press and passed through a dryer or heat-curing process. This ensures the ink adheres properly to the material and dries completely, making it permanent.
Repeat for Multiple Colors: For designs with multiple colors, each color requires a separate stencil and printing process. The screens are changed for each color layer, and the printing sequence is repeated, carefully aligning each color to create the final, multicolored design.
Quality Check and Finishing: After printing, a quality check is performed to ensure the design looks as intended. Sometimes, additional steps like heat setting or washing (for textiles) might be needed to enhance the durability and finish of the print.
Screen printing offers versatility and is used widely across various industries for creating designs on clothing, posters, signage, and other materials due to its ability to produce vibrant and long-lasting prints.
What Materials Can I Screen Print On?
Screen printing is a versatile technique that can be used on various materials, including:
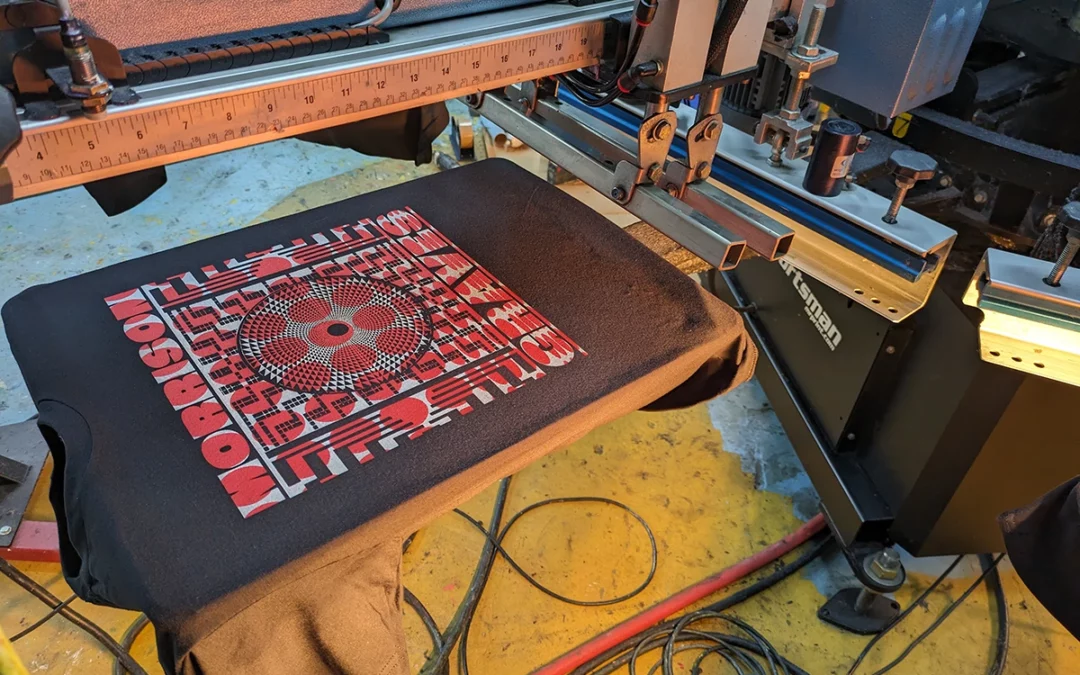
Fabric and Clothing: Screen printing is commonly used on fabrics like cotton, polyester, canvas, and blends. It’s popular for creating designs on T-shirts, hoodies, tote bags, and other apparel items.
Paper and Cardstock: Paper and cardstock are suitable for screen printing, often used for making posters, art prints, greeting cards, and other paper-based products.
Plastics: Screen printing can be applied to various types of plastics, such as PVC, acrylic, and polyethylene. It’s used for printing on items like plastic bottles, containers, and signage.
Metal: Metal surfaces, including aluminum, steel, and other metals, can be screen printed. This is common in the production of labels, signs, nameplates, and decorative metal items.
Wood: Screen printing can be used on wood surfaces, including plywood, MDF, and solid wood. It’s employed in creating designs on wooden panels, furniture, and decorative items.
Glass: Glass surfaces, such as bottles, jars, glassware, and decorative glass panels, can also be printed using screen printing methods.
Ceramics: Screen printing is used in ceramic decoration, allowing designs to be printed on ceramics like tiles, dishes, mugs, and decorative pottery.
Textiles other than Fabric: Besides clothing, screen printing can also be applied to other textile-based materials like canvas bags, towels, tablecloths, and curtains.
The adaptability of screen printing to various materials is one of its key strengths, making it a preferred choice in industries ranging from fashion and advertising to manufacturing and art. Different ink types and specialized techniques are employed depending on the material being printed, ensuring high-quality and durable prints across different surfaces.
What Is The Difference Between Screen Printing And Digital Printing?
The difference between screen printing and digital printing is how ink is applied to a surface. With screen printing, ink is applied to a screen, then dragged over a stencil to create an image. The artist must use multiple screens if the finished product uses multiple colors with screen printing. Digital printing uses machinery to spray ink directly onto a material. With digital printing, artists can create prints with multiple colors in one printing job.
What Is The Difference Between Screen Printing And Heat Transfer?
The main difference between screen printing and heat transfer printing is the temperature of the ink. Heated printing applies an ink, typically vinyl, to a surface by melting it onto the fabric or other material. Screen printing does not require heat, as the ink is applied wet and then cured.
Ready to Wear Your Unique Style? Order Custom Your Screen Printed Apparel Today!
Now that you’ve uncovered the magic behind those stunning T-shirts and posters, why not bring your imagination to life? With custom screen printing, you can wear your creativity on your sleeve—literally! Whether it’s personalized tees, hoodies that speak your vibe, or tote bags that stand out in a crowd, custom screen printing lets you make a statement. Embrace the art and science of screen printing by adorning your favorite apparel with designs that reflect your personality.
At No Dinx you’ll have an account manager to walk you through the process from start to finish. Reach out today to order your custom screen-printed gear and together we’ll bring your ideas to life.
If you’d like to learn more about custom apparel check out our other articles on this topic:
Your Complete Guide To Custom Embroidered Hats
How To Get The Most Out Of Custom Embroidered Employee Apparel
Understanding The Difference Between Vector and Raster Files